In this guide we will show you how to connect Glue to your Quickbooks account. Please note that once you connect Glue to your Quickbooks account, The sync for your orders, Products and customers will start. Once this process starts we cannot stop the sync until it is complete. All of your customers on Quickbooks will also receive a SMS message inviting them to join your members club. We recommend that you complete any customisation you want to do on your members club before you do the integration with Quickbooks.
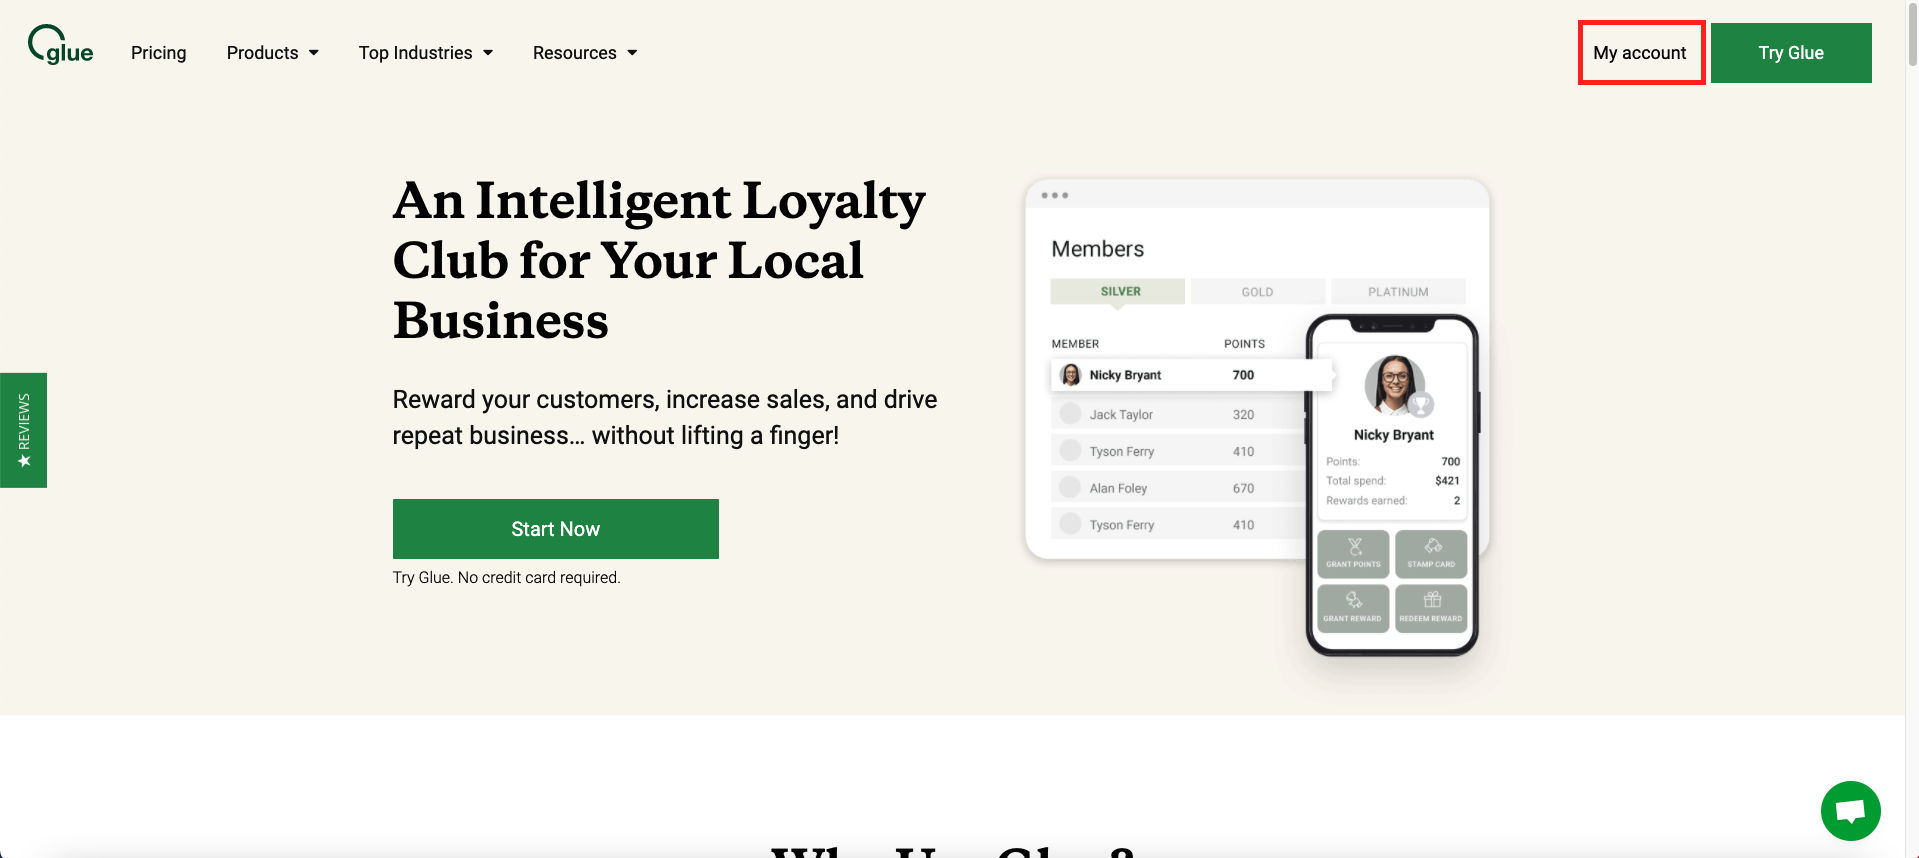
To integrate with Quickbooks is very simple. First sign in to your Glue account from our website by pressing ‘My Account’ at the top right hand corner
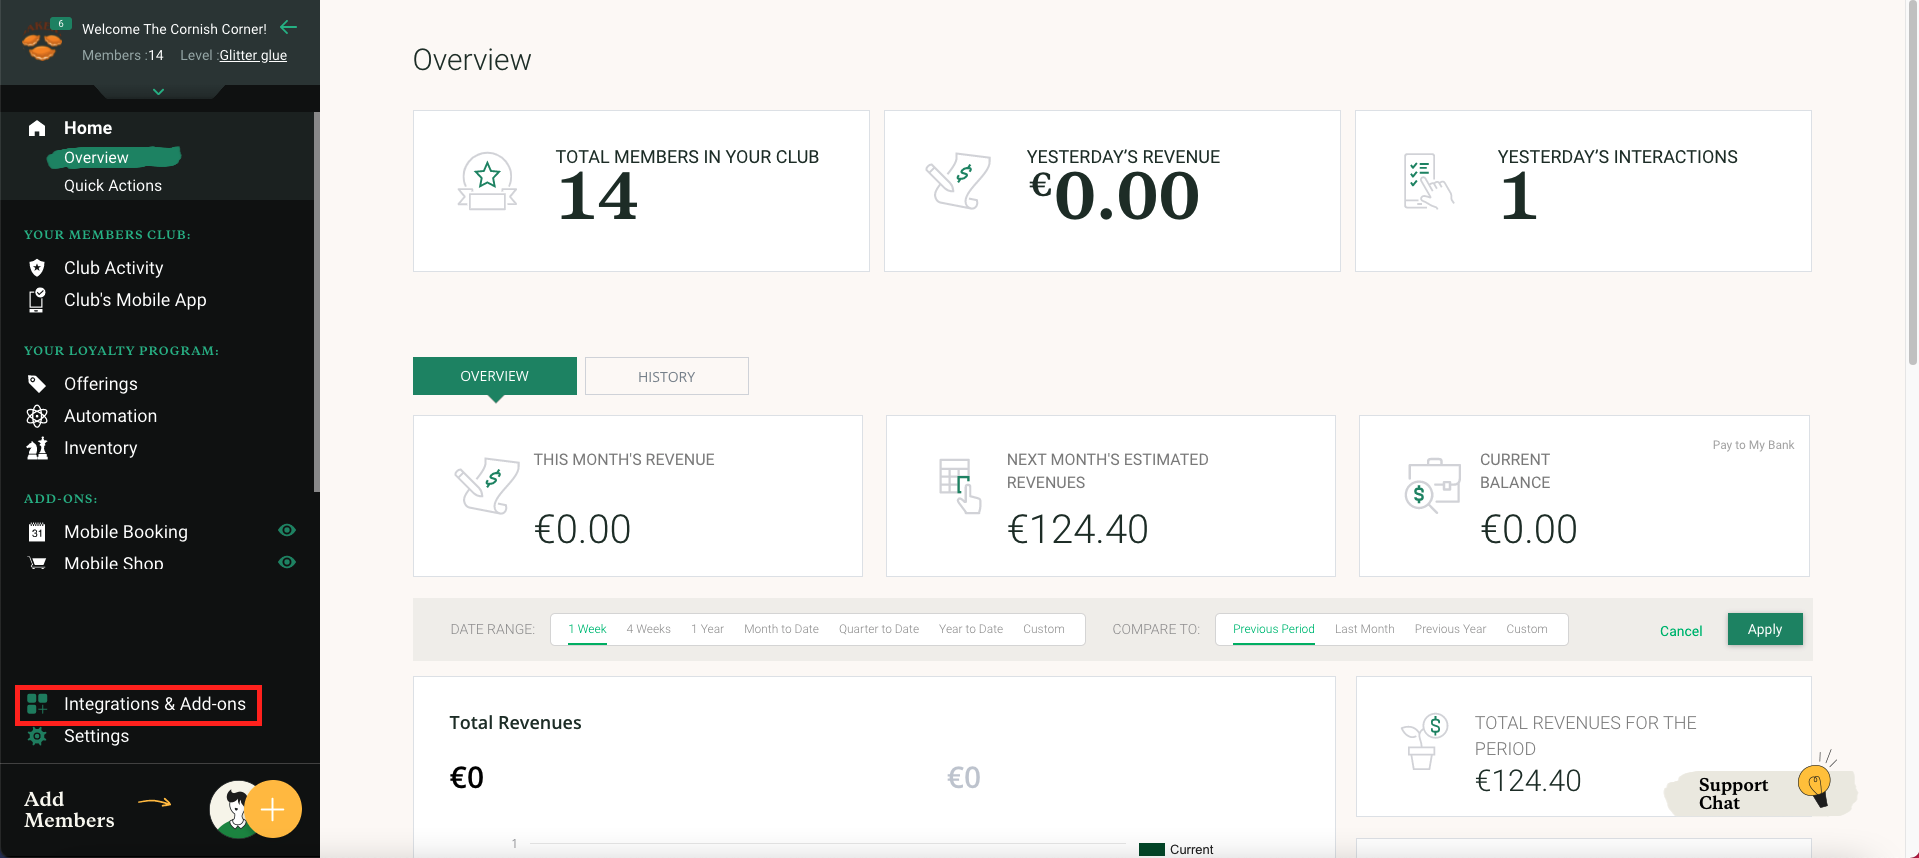
Next you will need to click on ‘Integrations & Add-Ons’ in the workspace
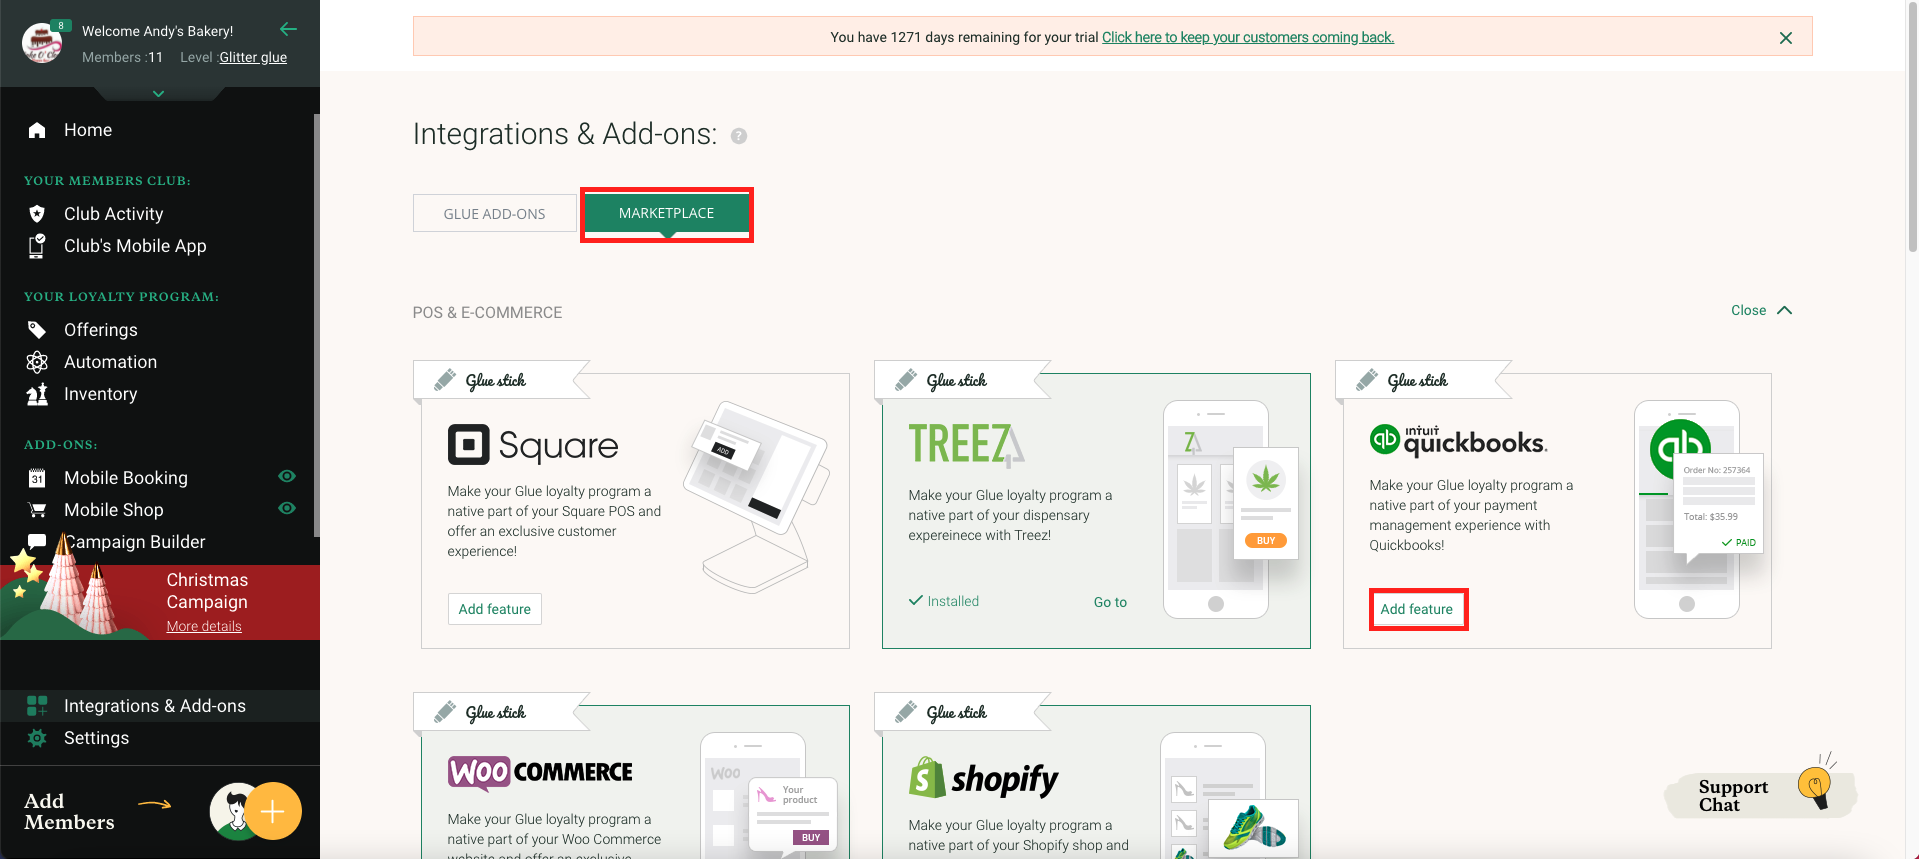
From here you will then need to click on the tab called ‘Marketplace’. Next click on ‘Add Feature’ that is in the Quickbooks box
Once you have added this feature you will then need to select ‘Settings’ from the bottom of the left hand menu. Once you have completed this select ‘General’ and then select the ‘Integrations’ tab.
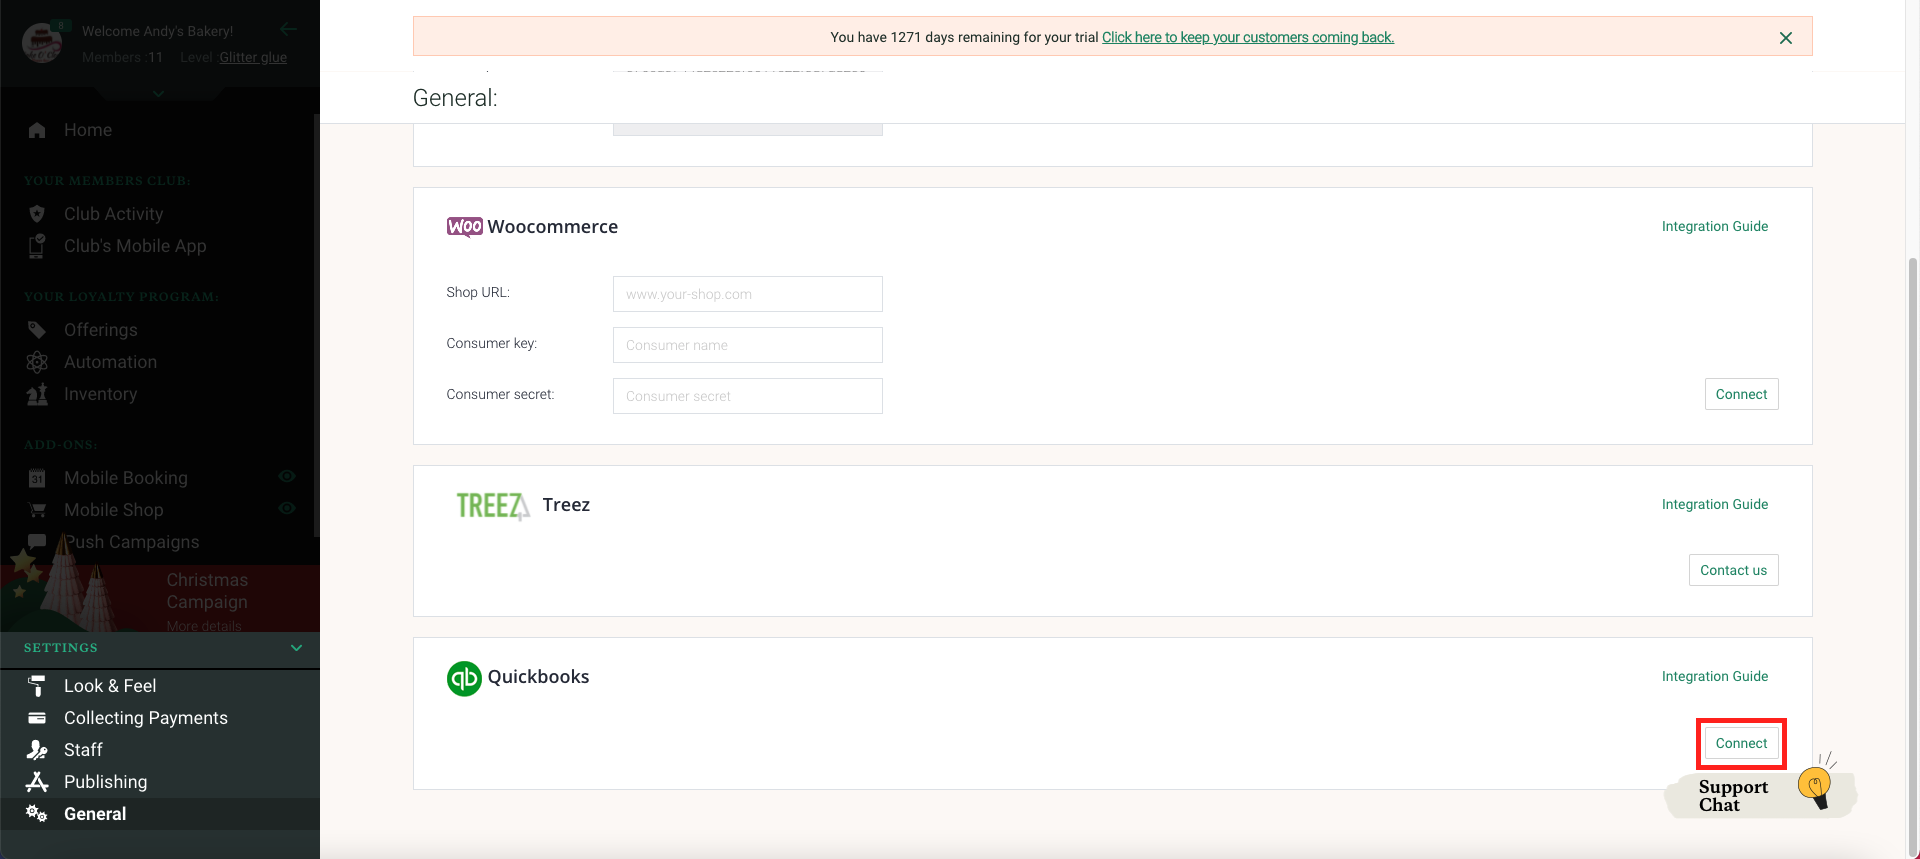
In here you will see Quickbooks, press on the ‘Connect’ button.
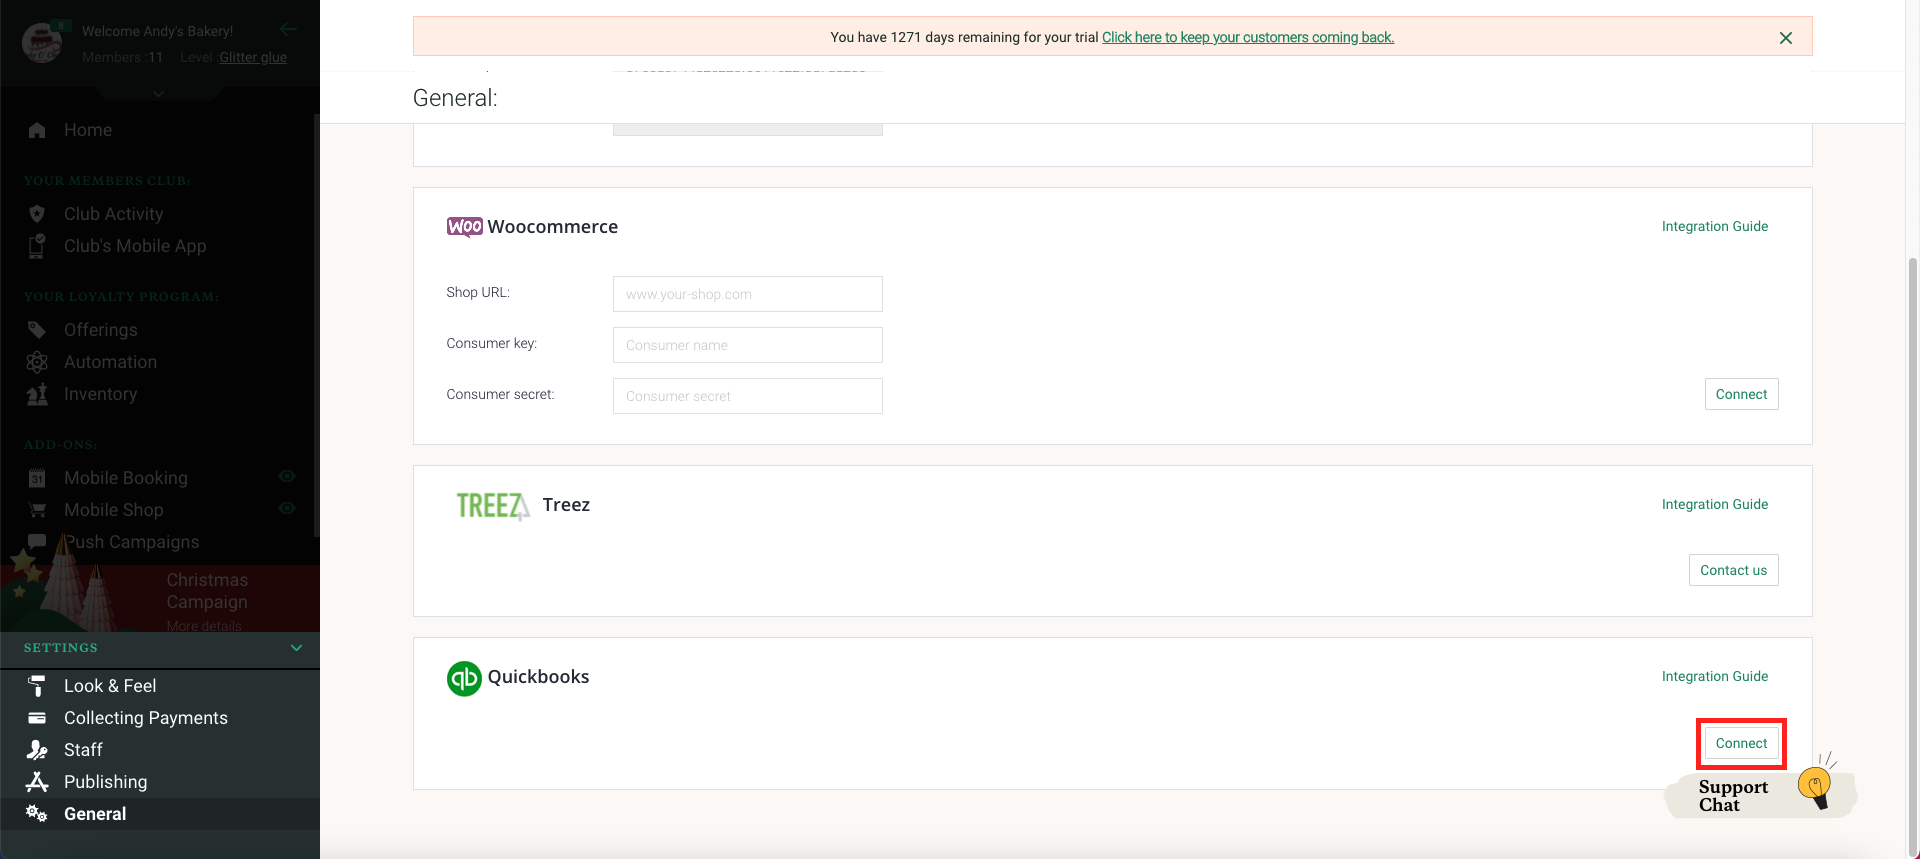
You will then be brought to a page that will ask you to sign into your Quickbooks account. Once you are signed in, Quickbooks will ask you to grant permission for Glue to connect to your Quickbooks account. You will need to grant permission in order for Glue to connect with Quickbooks.
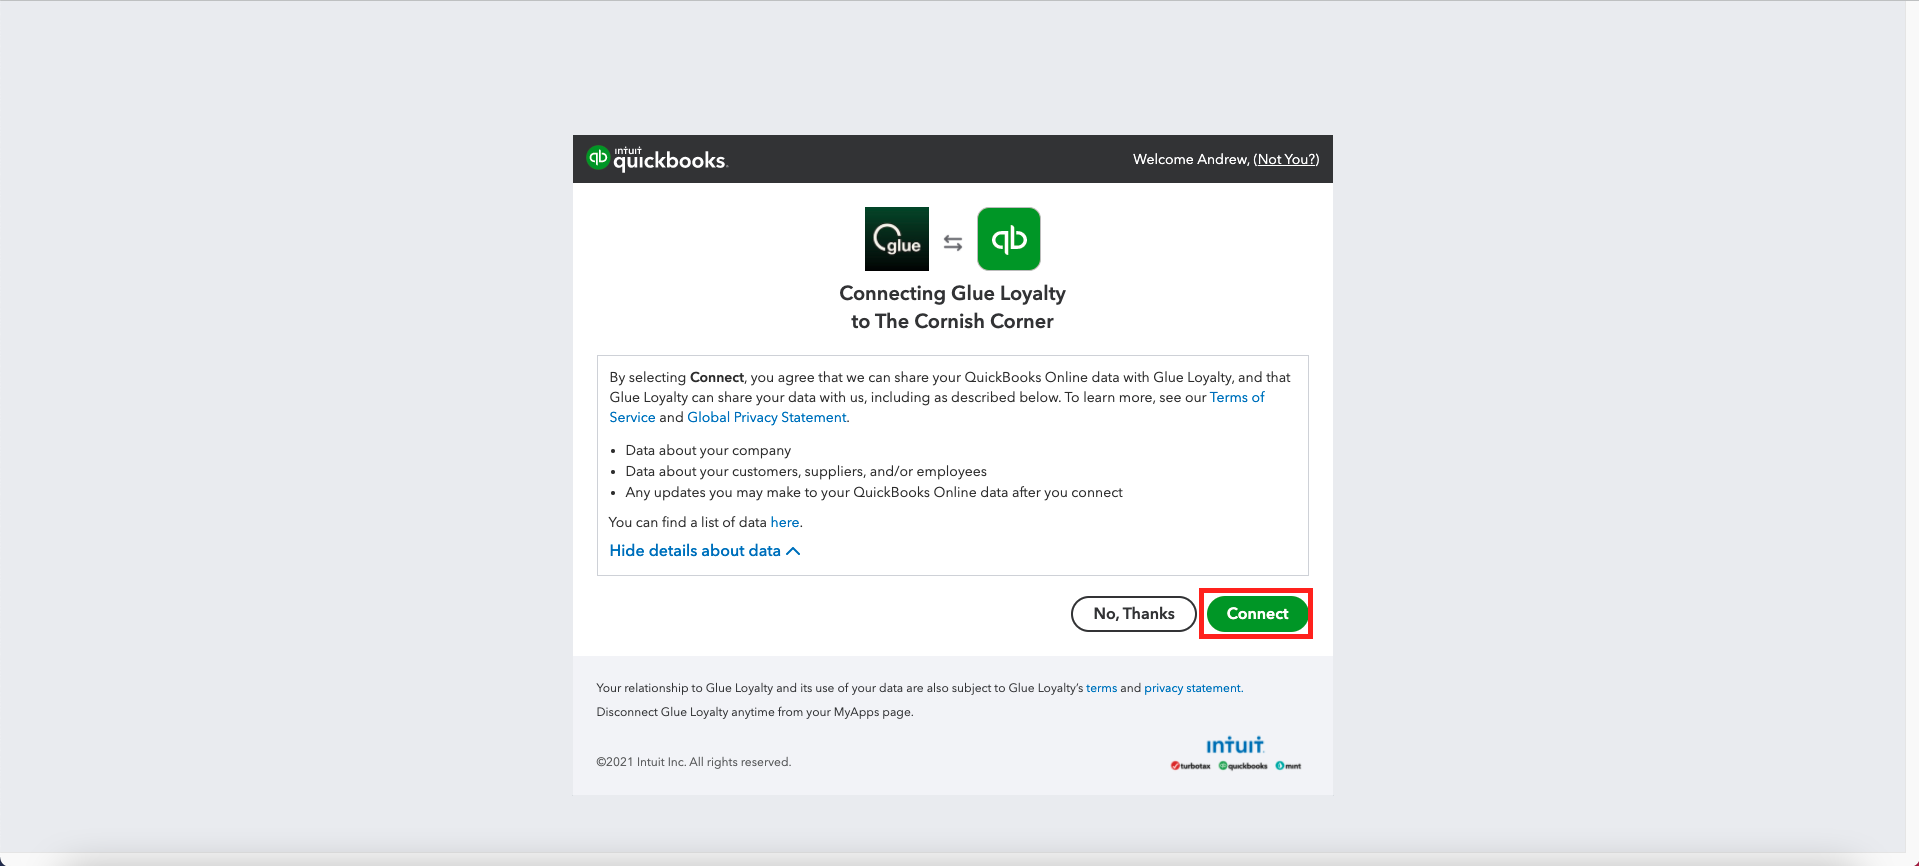
Once you grant permission you will get a new screen that will confirm the integration.
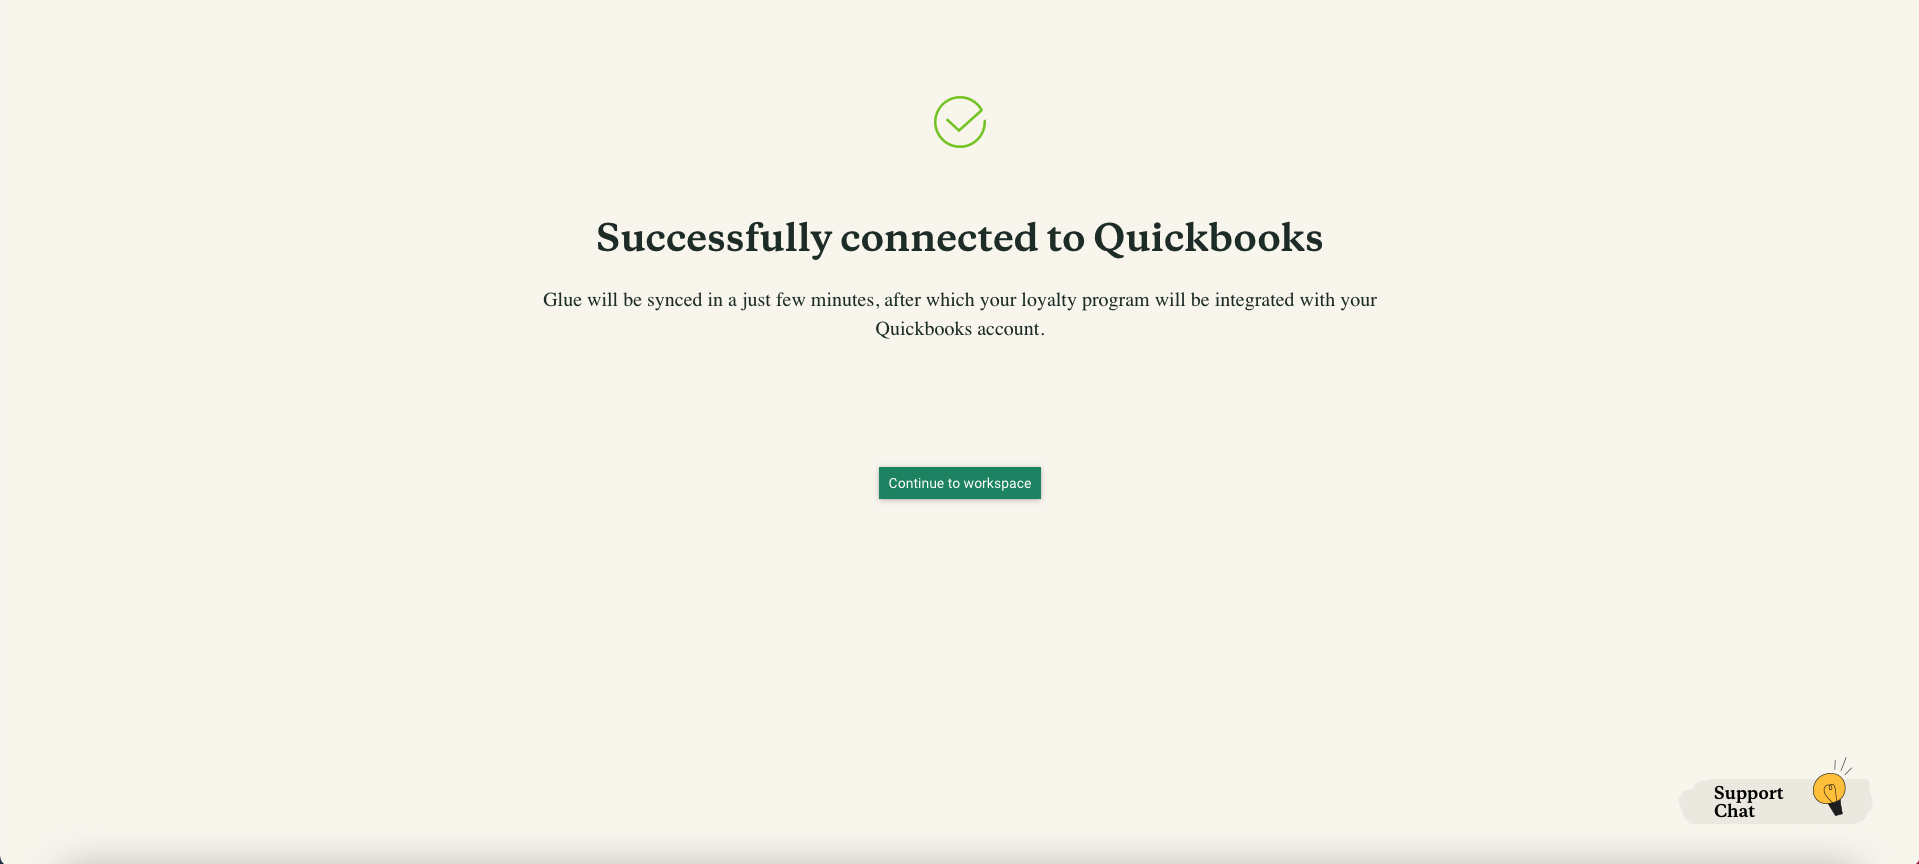
Lastly, it is best to let Quickbooks and Glue to sync for 24 hours for all of your Products/ Services, Customers and Orders to come over to Glue.
If you have any questions or concerns then you can message our Support team through the chat on our website or simply email support@glueloyalty.com with your query and they will get back to you as soon as they can.


